06 Feb Personalize Your Space With a DIY Gallery Wall
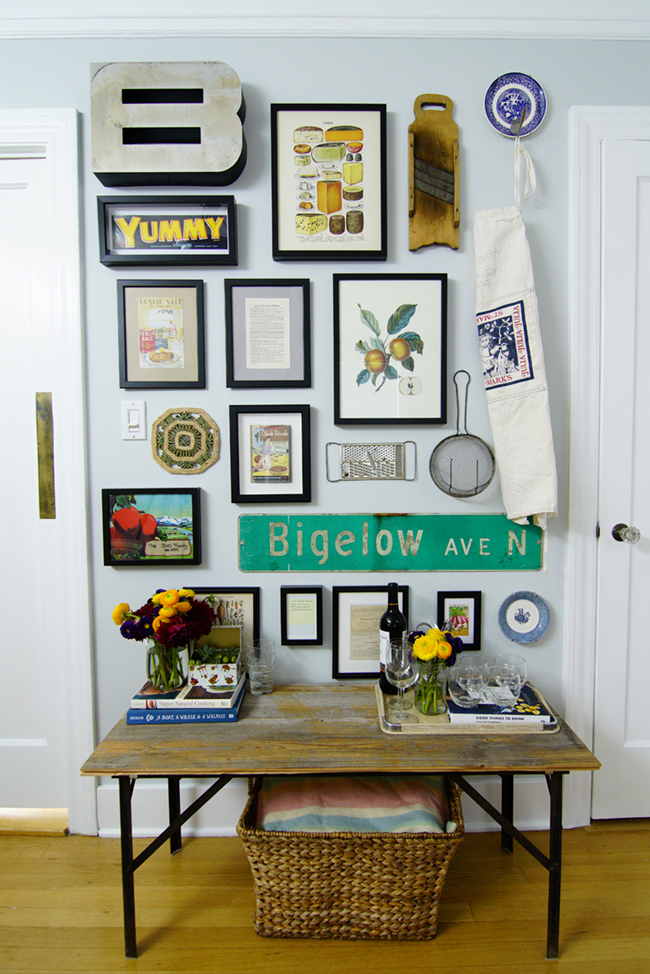
Blending interior design styles with a roommate or partner is all about including personal touches and pinpointing a shared interest or aesthetic. The floor-to-ceiling gallery wall we created for a special couple on the West Coast is a perfect example.
Homeowner Lauren and her fiance Greg are taking a big step: cohabitation. They’re recently engaged, and Lauren is making space for not only his furniture and accent pieces but also his style.

The active couple shares a love for food, wine and entertaining, so we set out to brighten the dining room.
Graced with iconic Seattle views of the waterfront, seaplanes and hillside homes, the dining room connects the home’s cozy living room with the kitchen, from which we drew foodie inspiration for the gallery wall.
When creating a gallery wall, it’s a good idea to create a balance of organic shapes and square corners.
On Lauren’s wall, vintage cookbooks, antique kitchen tools and metallic shapes like street signs and decorative letters complement the framed art and images, while a variety of shapes and sizes provides visual interest.
Make a game plan
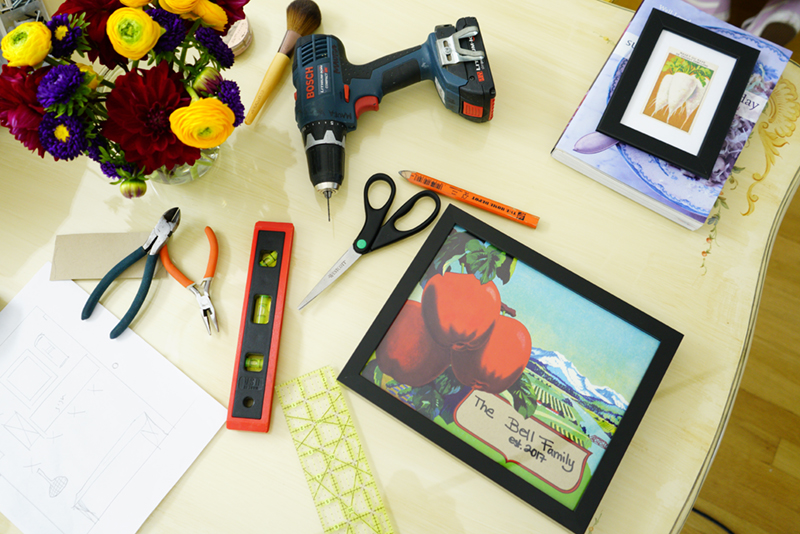
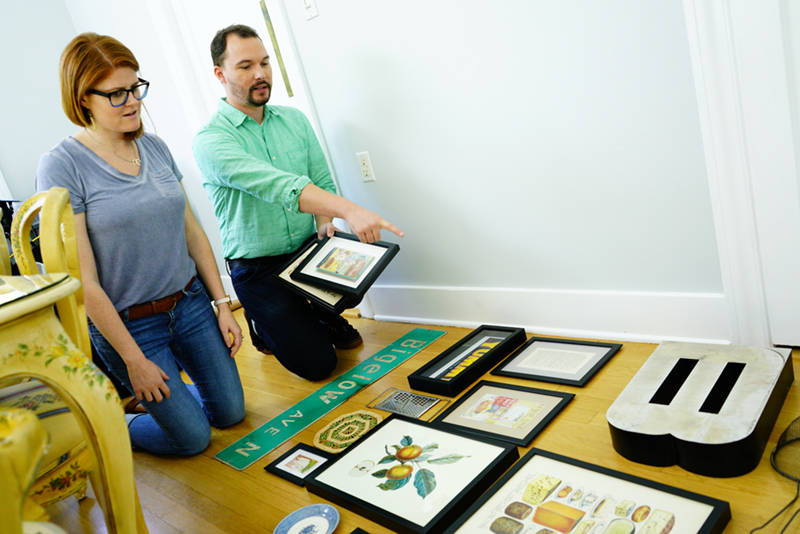
Lay the items out on the floor so you can try different arrangements – without hammering a single nail.

Once you’ve decided which items to include, trace their shapes on leftover wrapping paper or butcher paper, and then tape these templates to the wall to guide you in placing nails and hangers.
For a final touch, include a small piece of furniture at the bottom of your gallery wall. A chest or bench anchors the whole scene and makes a lovely spot for a row of glasses or a flower arrangement.

